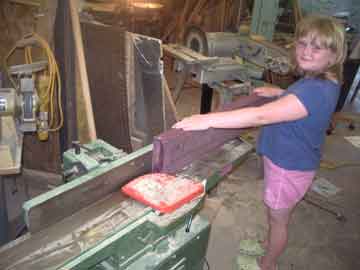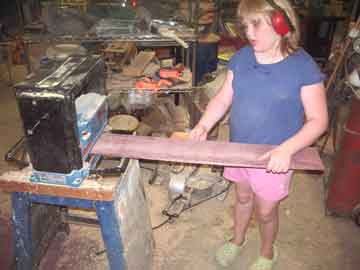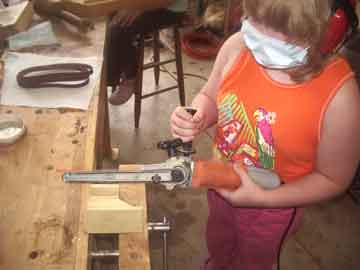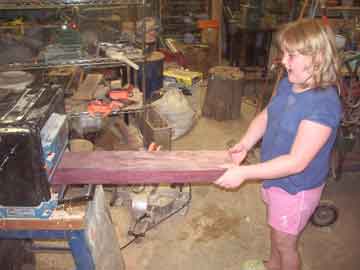
Planing one face of
the purpleheart in preparation for resawing. Purple and gold - it
had to be purple and gold. Doesn't hurt that she has this natural
affinity to the great Calontir colors. But it does mean that we
use woods that are less than friendly in dust form, so we are
careful. You can do almost everything if you are careful.
Pretty colored wood shouldn't stop you from making what you want to
make.
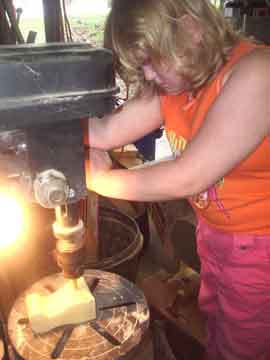
Hogging away the
recess in the tuning peg scroll with a little forstner bit. 24
holes. "Hey dad, why didn't we just use the bigger bit and make 3
holes?" He, he, he...anything worth doing is worth working a bit
for, right? After all, what good is teaching taking ALL the
shortcuts.
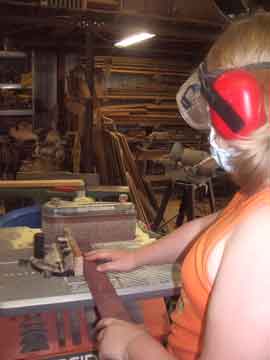
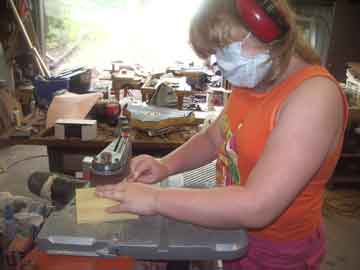
Now using the miter fence to
square up the sides of the instrument prior to gluing. Again
purpleheart, and again the mask and the hearing protection (no, the
sander isn't that loud. Acey just thinks they are a fashion
statement.
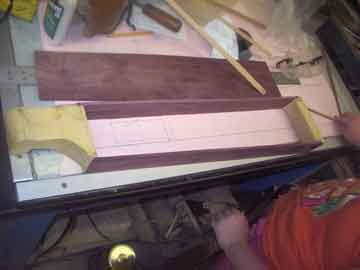
The sides, tail and head after
gluing. Now it is time to add the binding and close up the box.
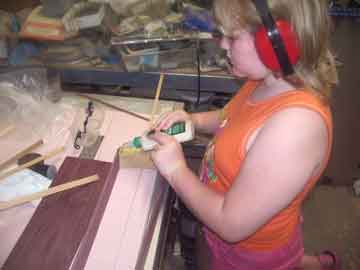
Attaching the bindings for the bottom. I always seem to have to
remind her to use enough glue - a 14 ounce bottle of Titebond per glue
joint is never enough...
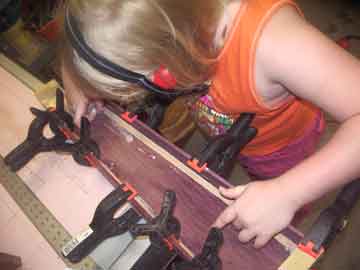
Pressing and gluing the bottom to the box after the bindings dry.
Clamps and more clamps. Didn't have the violin clamps made yet,
so spring clamps had to work.
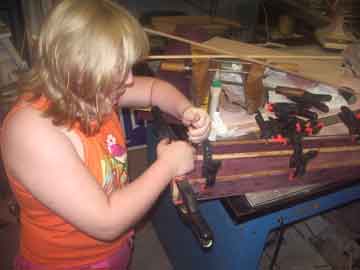
Now the bindings for the soundboard.
These are made of lightweight and strong redwood.
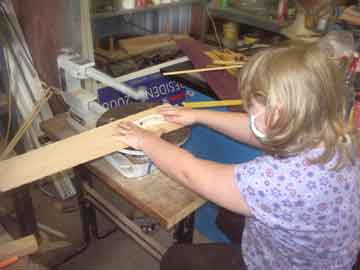
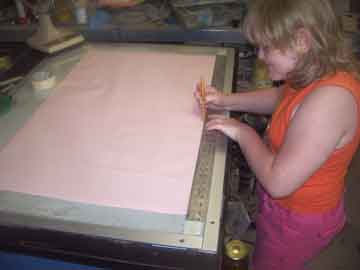
OK,
Acey got brave and decided to cut out the whole soundhole by
herself. She drew a sort of impressionist shooting star on a
piece of paper, and with a spiral cut blade in the jigsaw, she went at
it. And she followed the lines pretty well, and was happy with
the result. Not the way dad would have done it, but dad is just
too grown up to appreciate certain things, and it is her
instrument. And it doesn't look bad, but it is not dad's
taste. But again, it is Acey's instrument
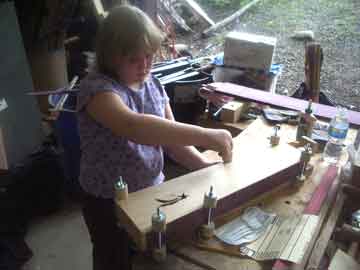
Violin body clamps to the rescue!. Both the girls helped me make
all the clamps, and so they got to use tools they made themselves -
that is a really cool part of any project.
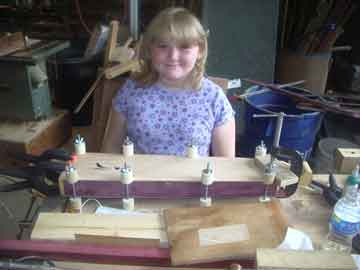
Here's where things turn from
"Gee, dad, do I have to go out and work?" to "I can't wait to hear what
it sounds like! Come on, dad, what do I do next!!!" But
with rib-built instruments, there is more glue-drying time than with
solid body instruments.
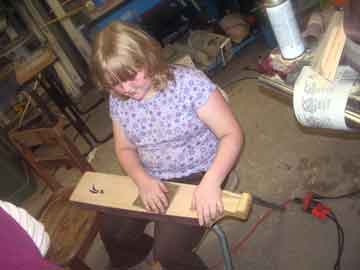
After a quick pass over the oscillating
sander to smooth up the edges of the soundboard, it is time for hand
sanding. But the instrument is starting to take shape.
Actually at this point a bridge, a nut, 3 pegs and 3 hitch pins, and
some frets, and we are ready to fly. OK, not fly. And OK,
needs wax. But you get the picture - it's in the home stretch.
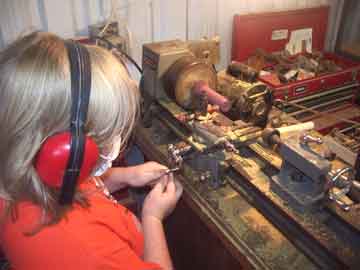
Turning
the purpleheart tuning pegs at the lathe. I have the machine set
up like any good machinist would, with the dials set to proper 0s and
the cross slide set at the proper taper and the bed stopped. It
is
simply a repetitive mechanical operation of working to the numbers and
following a sequence of instructions in order. Just like a
professional CNC machine, except a human at the controls.
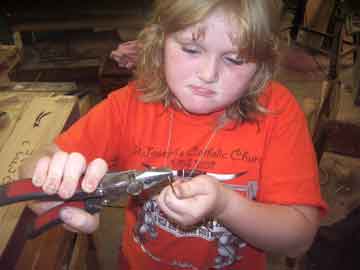
The frets are bent out of soft brass brazing rod, to the exact width of
a pair of lineman's pliers, and then trimmed like staples. The
material and the tools were chosen for both authenticity and ease of
use for a 7 year old.
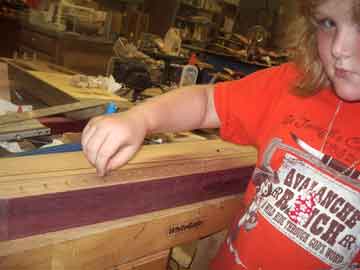
A set of holes drilled according
to a template printed out from the "Musical Instrument Makers Forum"
fret calculator program, and we are ready to insert the frets.
They had to be pushed in hard, an a small dot of glue was put in on one
of the legs. They will hold, but they can be removed and changed.
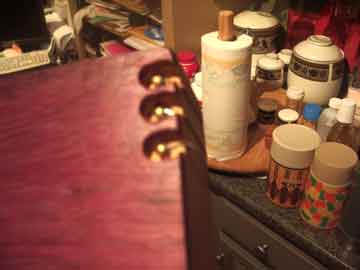
3
recesses were created with
forstner bits in the bottom of the instruments, and holes were drilled
for brass pins. The strings attach on the bottom of the
instrument, and wrap around the tail end, over the bridge, and to the
tuning pegs.
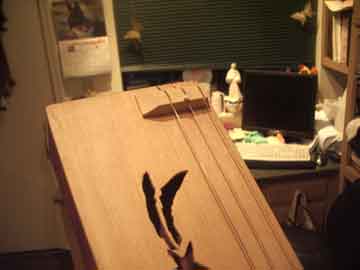
The bridge is maple, supported on
both the tailpiece and the soundboard. This is the third bridge
we made, the action is not easy to set on one of these things.
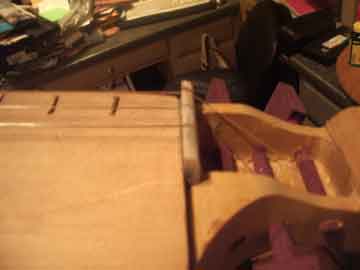
The nut shaped and glued into place.
This is a hard piece to get right, the action is hard to set, but it
worked out OK. A replacement will probably be installed after all
the messing around with the action is finished and some hard numbers
are determined for the depth of the slots.
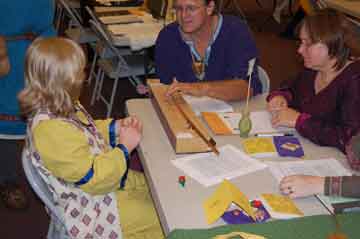
Aislinn at Kingdom Arts and Sciences
Championships, Calontir Shire of Crystal Mines, July 12, 2008.
She received a 28.5 out of 30, in intermediate (an outstanding, almost
unheard of score for a 7 year old.) She is happy.
Aislinn and I sometimes don't seem to mesh as well as Ceilidh and I,
but projects like this make up for a lot. I really love working
with my girls to create things and to teach them (and learn myself)
during the process, and I love to see their creativity at play.
She has already picked out her next instrument - a 16/17 hammered
dulcimer. You can bet it will be there on the table next year,
and with her score this year, it will be entered in advanced
category. We have time.

